Getting Your UV Curing Right in Textile Printing
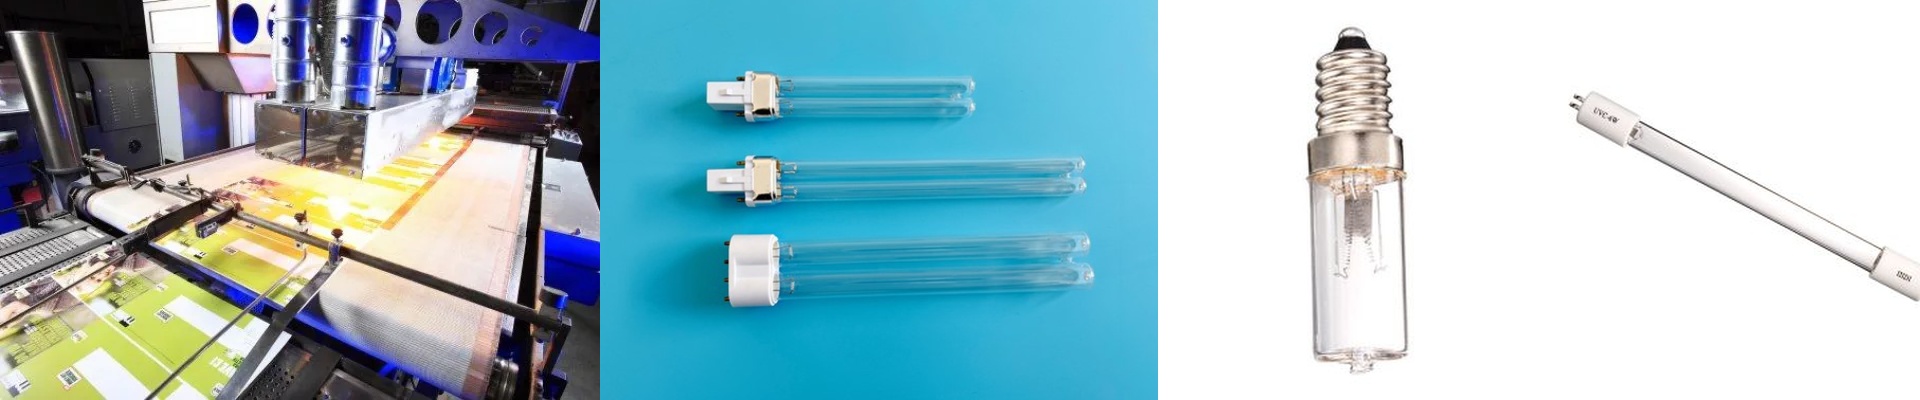
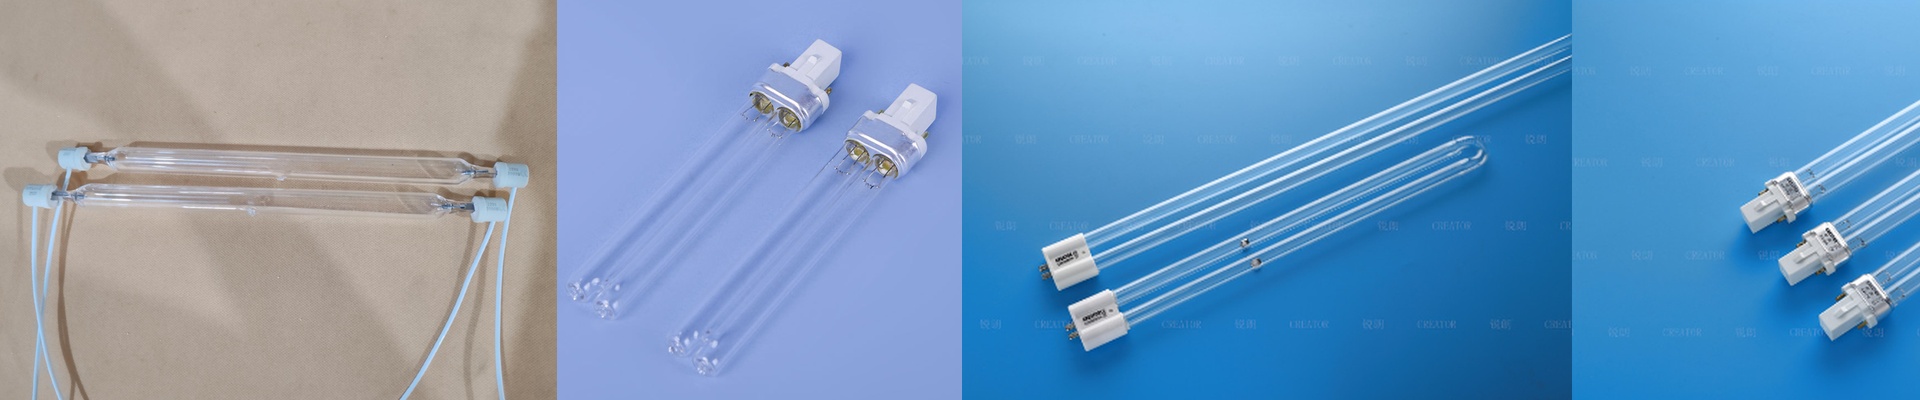
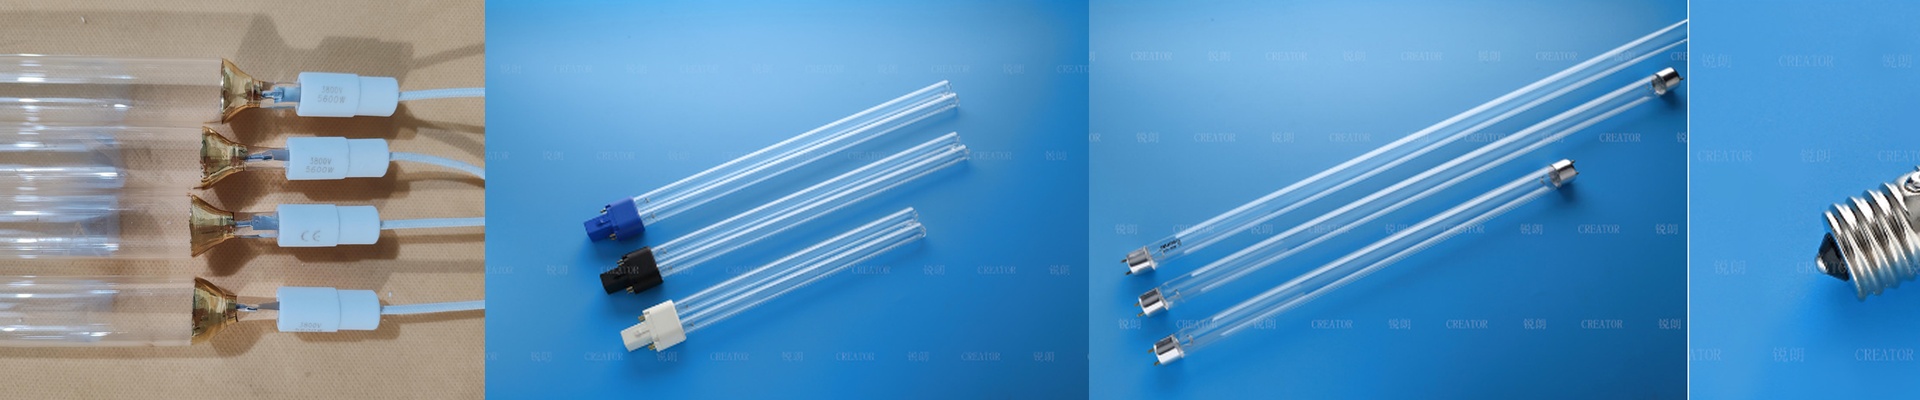
When you’re swapping out UV lamps in a textile setup, it’s easy to think of it as just “changing a lightbulb.” But it’s actually more about managing a chemical reaction. If the ink doesn’t cure exactly right, the whole run is wasted. We build our lamps to make sure your patterns set instantly, without accidentally scorching the fabric. The balance of power Here’s the thing: you have to nail the balance between wattage and wavelength. On a high-speed line, you need just enough punch to trigger the ink to harden. If the wattage is too low? You get smears. It’s a mess. Too high? You’ll start damaging the fibers. We make sure the UV output stays steady across the entire tube. That way, you don’t end up with “cold spots” where the ink stays tacky in some areas but is bone-dry in others. Dealing with the heat We use high-purity fused quartz for the outer shell. It lets the UV light through while handling the stress of being turned on and off repeatedly. But these things get hot. Really hot. Double-check your cooling fans or water-jackets. If your airflow is blocked, the quartz will stress out and the lamp will burn out way sooner than it should. It’s a simple fix, but it saves you a lot of money in the long run. Swapping them out We designed these to be drop-in replacements. You shouldn’t have to rewire your entire rig or mess with your ballast just to get a new lamp in. It just fits. Since replacing a lamp is a manual job, we’ve tightened up the end-cap seals to stop gas leaks and keep the lamps running longer. One last thing—and this is the important part:wear your gear. UV-C radiation is invisible. You won’t feel it happening, but it’ll burn your skin and eyes before you even realize the lamp is on. Keep your shielding in place and stay safe.